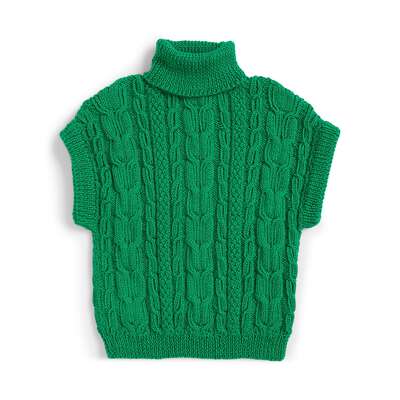
Here’s a general guideline to get you started on making a crochet turtleneck vest:
Materials you’ll need:
- Crochet hooks in the appropriate size for your yarn (check the yarn label for recommendations)
- Yarn of your choice (preferably a medium weight yarn)
- Scissors
- Tapestry needle for weaving in ends
- Stitch markers (optional)
Instructions:
- Choose a crochet pattern or create your own design. There are many crochet patterns available online, in books, or you can even design your own based on your skill level and preferences.
- Take accurate body measurements. Measure your bust, waist, and hips to ensure the vest fits you properly. Use these measurements to determine the size and shape of the vest.
- Make a gauge swatch. Crochet a small swatch using your chosen yarn and hook size to determine the number of stitches and rows per inch. This will help you calculate the number of stitches needed for your vest based on your measurements.
- Start with the foundation chain. Using the hook size recommended in your pattern or based on your gauge swatch, make a foundation chain that matches the width of your desired vest size. Join the chain into a ring using a slip stitch, being careful not to twist the chain.
- Work in rounds or rows. Depending on your chosen pattern, you’ll crochet either in rounds or rows. Follow the instructions provided in your pattern or create your own stitch pattern to achieve the desired texture and design. Common stitch patterns used for vests include single crochet, half double crochet, double crochet, or more intricate stitch combinations.
- Shape the armholes and neckline. As you crochet, you’ll need to shape the armholes and create the turtleneck collar. This involves decreasing stitches for the armholes and gradually increasing stitches to form the collar. Follow your pattern instructions or make adjustments based on your own design.
- Finish the edges. Once you’ve completed the main body of the vest, you can add finishing touches to the edges. This can include adding ribbed borders, picot edging, or any other decorative stitch pattern of your choice.
- Weave in ends. Use a tapestry needle to weave in any loose ends of yarn, making sure they are secure and hidden within the stitches.
- Try on and make adjustments if necessary. Once your vest is complete, try it on to ensure it fits well. If any adjustments are needed, you can make modifications such as shortening or lengthening the body or adjusting the collar height.


Reviews
There are no reviews yet.