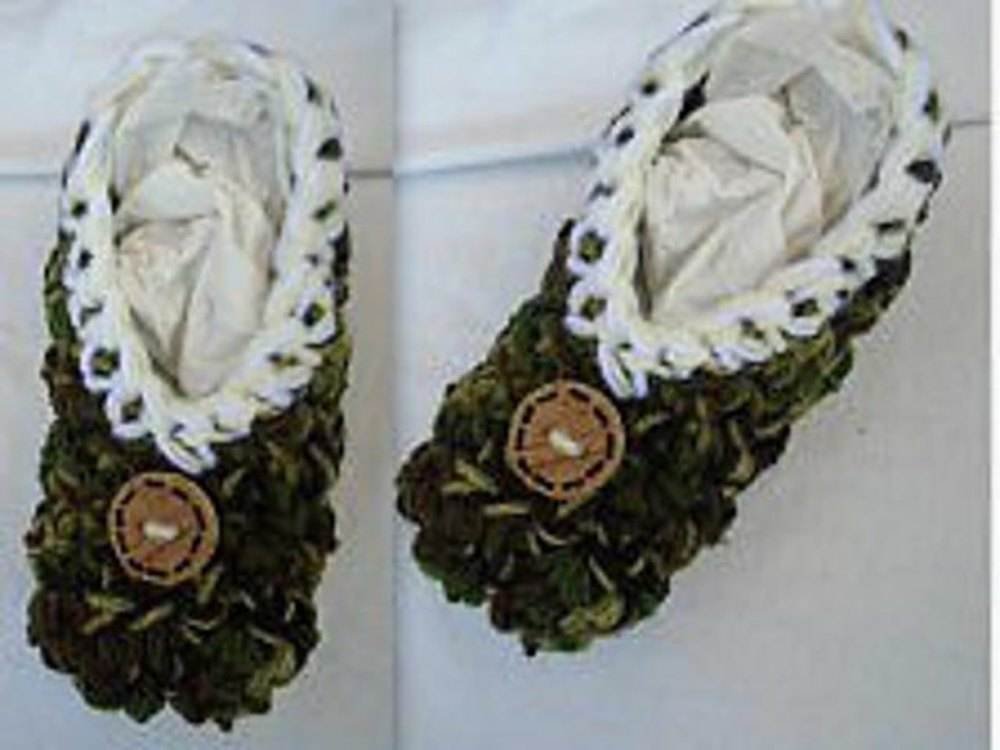

Crochet child slipper
$10.00 Original price was: $10.00.$0.99Current price is: $0.99.
Materials you’ll need:
Worsted weight yarn in your desired color(s)
Crochet hook appropriate for the yarn weight (usually size G or H)
Yarn needle for weaving in ends
Scissors
Pattern for Child Slippers:
Step 1: Sole
Start by creating the sole of the slipper.
Chain a number of stitches that equals the length of the child’s foot plus a few extra chains for ease. For a child’s slipper, you might start with around 15-20 chains.
Single crochet in the second chain from the hook and in each chain across.
Chain 1, turn your work, and single crochet in each stitch across the row.
Continue this process, chaining 1 and single crocheting in each stitch until the sole is as long as the child’s foot.
Step 2: Foot Opening
Now you’ll create the opening for the foot.
Fold the sole in half, with the wrong side facing out, and align the edges.
Slip stitch or single crochet through both layers to join them, starting at the center of the heel and working towards the toe. This will create the foot opening.
Step 3: Upper Part of Slipper
Now you’ll create the upper part of the slipper that covers the top of the foot.
Chain enough stitches to reach from one side of the foot opening to the other (this will vary depending on the size you’re making).
Single crochet in the second chain from the hook and in each chain across.
Chain 1, turn your work, and single crochet in each stitch across the row.
Repeat Step 3 until the strip is wide enough to cover the top of the child’s foot comfortably.
Step 4: Strap (optional)
You can add a strap across the top of the slipper to help keep it secure.
Attach your yarn at one side of the slipper opening.
Chain enough stitches to reach the other side of the opening.
Single crochet in the second chain from the hook and in each chain across.
Chain 1, turn your work, and single crochet in each stitch across the row.
Repeat Step 4 until the strap is the desired length.
Step 5: Finishing
You must be logged in to post a review.


Reviews
There are no reviews yet.