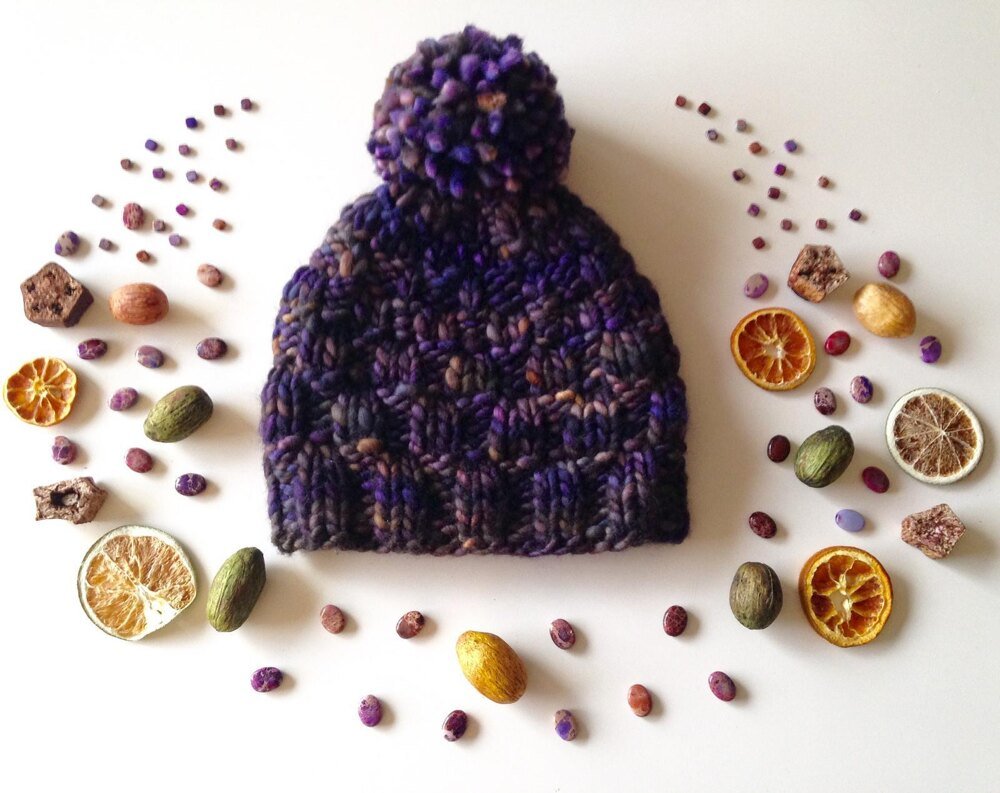
Materials you’ll need:
Crochet hooks (size will depend on your yarn weight)
Yarn (choose a weight and color of your preference)
Scissors
Yarn needle
Stitch markers (optional)
Step-by-step instructions:
Gauge: Start by creating a gauge swatch to determine the correct size of your stitches. This step is especially important if you want your hat to fit properly. Follow the instructions on your yarn label to create a gauge swatch and adjust your hook size if needed.
Measure your head: Use a measuring tape to determine the circumference of your head. This measurement will help you determine how many stitches you’ll need for the base of your hat.
Starting chain: Once you have your gauge and head circumference, you can begin crocheting the hat. Make a foundation chain using the number of stitches required for the circumference of your head. You can use any crochet stitch you prefer, such as single crochet, half double crochet, or double crochet.
Rounds: Join the last stitch of your starting chain to the first stitch to form a ring. Crochet in continuous rounds, using the stitch of your choice. You can place a stitch marker in the first stitch of each round to keep track of your progress.
Increase rounds: Start by working an increase round to gradually widen the circumference of the hat. The number of increases will depend on your stitch pattern and desired hat size. For example, in single crochet, you might work two single crochet stitches in each stitch around.
Body of the hat: After the increase rounds, continue crocheting without increasing until the hat reaches the desired length. You can experiment with different stitch patterns, textures, or color changes to add visual interest.
Shaping the crown: When the body of the hat is long enough, you’ll need to start decreasing to shape the crown. The decrease rounds will reverse the increasing pattern and gradually narrow the circumference of the hat. The specific decrease technique will depend on the stitch pattern you’ve been using.
Finishing off: Once the crown is shaped, you’ll have a small opening at the top. Cut the yarn, leaving a long tail. Thread the tail through a yarn needle and weave it through the remaining stitches, pulling tight to close the opening. Fasten off and weave in any loose ends.
Embellishments (optional): You can add various embellishments to your crochet hat, such as pom-poms, flowers, or buttons. Get creative and personalize your hat according to your style and preferences.
You must be logged in to post a review.


Reviews
There are no reviews yet.