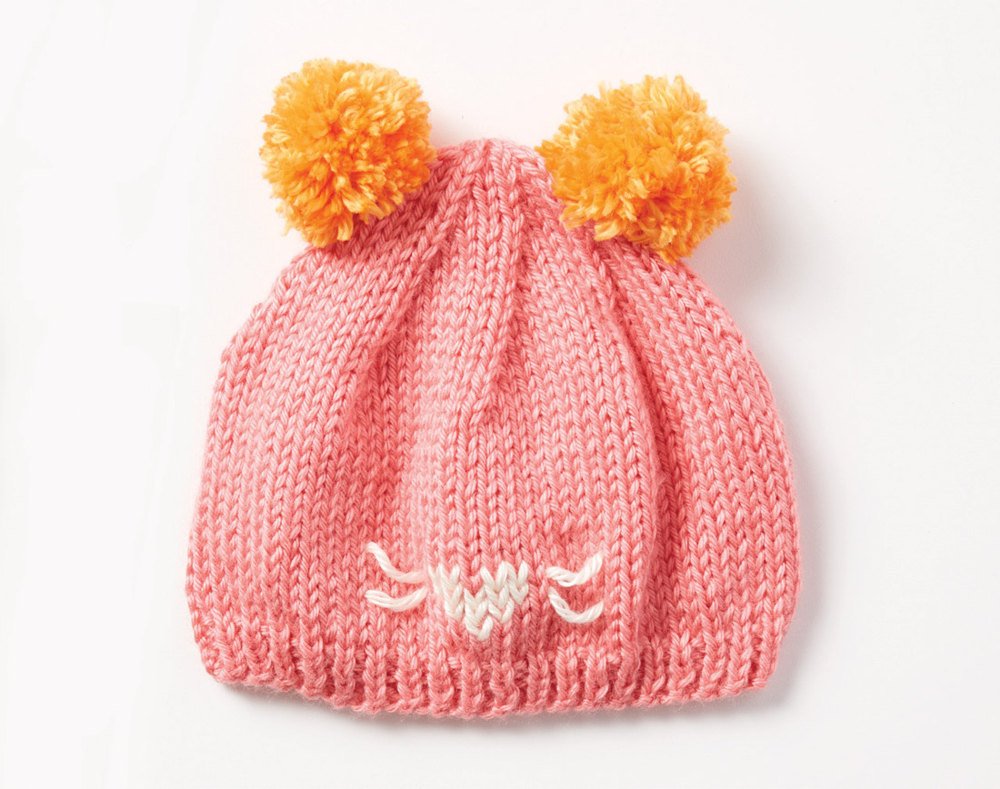

Kitten Hat
$10.00 Original price was: $10.00.$0.99Current price is: $0.99.
A crochet kitten hat sounds adorable! To help you create a crochet kitten hat, here’s a basic pattern you can follow:
Materials:
Worsted weight yarn in your desired color (main color for the hat and contrasting colors for the ears and facial features)
Crochet hook appropriate for the yarn weight
Yarn needle
Scissors
Instructions:
Hat Body:
Start by making a magic ring (or you can chain 4 and join to form a ring).
Work in rounds.
Round 1: Chain 2 (counts as the first stitch), make 9 double crochet stitches into the ring. Join with a slip stitch to the top of the chain 2. (Total: 10 stitches)
Round 2: Chain 2, make 2 double crochet stitches in each stitch around. Join with a slip stitch to the top of the chain 2. (Total: 20 stitches)
Round 3: Chain 2, make 2 double crochet stitches in the next stitch, 1 double crochet in the next stitch Repeat from * to * around. Join with a slip stitch to the top of the chain 2. (Total: 30 stitches)
Rounds 4-8: Chain 2, make 1 double crochet in each stitch around. Join with a slip stitch to the top of the chain 2. (Total: 30 stitches)
Adjust the number of rounds based on the size you want for your hat. You can make it shorter or longer, as desired.
Ears:
Make two.
Chain 8.
Row 1: Starting from the second chain from the hook, make 1 single crochet in each stitch across. Chain 1, turn. (Total: 7 stitches)
Row 2: Make 1 single crochet in each stitch across. Chain 1, turn. (Total: 7 stitches)
Row 3: Decrease by making 1 single crochet in the first 2 stitches, then work 2 single crochet stitches together. Make 1 single crochet in the last 2 stitches. Chain 1, turn. (Total: 5 stitches)
Row 4: Make 1 single crochet in each stitch across. Chain 1, turn. (Total: 5 stitches)
Row 5: Decrease by making 1 single crochet in the first 2 stitches, then work 2 single crochet stitches together. Make 1 single crochet in the last stitch. Chain 1, turn. (Total: 4 stitches)
Row 6: Make 1 single crochet in each stitch across. Fasten off and leave a long tail for sewing.
Assembly:
Sew the two ears onto the top sides of the hat, using the long tail left from each ear.
Use contrasting yarn to embroider or attach facial features like eyes, nose, and whiskers onto the front of the hat. You can use buttons, felt, or crochet stitches for these details.
You must be logged in to post a review.


Reviews
There are no reviews yet.