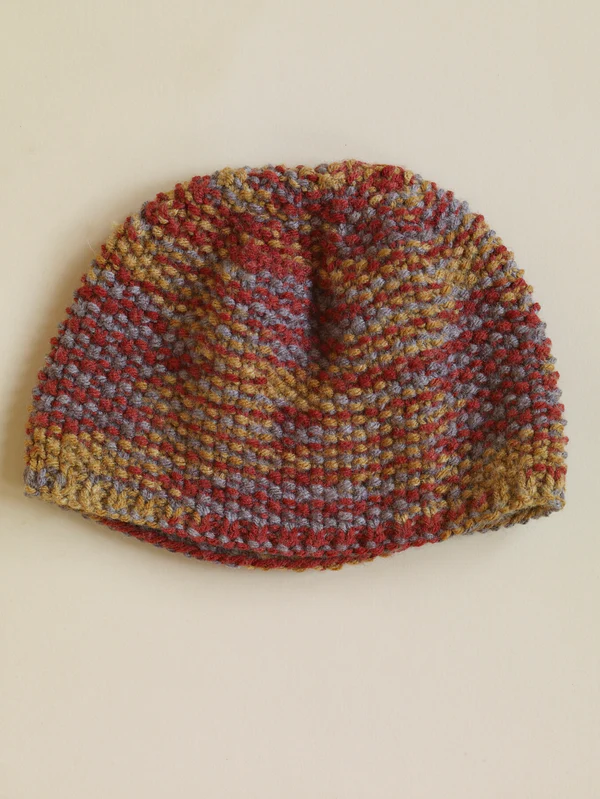
Description
Materials you’ll need:
- Worsted weight yarn in your desired color
- Crochet hook suitable for your yarn
- Scissors
- Tapestry needle for weaving in ends
Instructions:
- Gauge: Start by creating a gauge swatch. Crochet a small square using your chosen stitch pattern to determine how many stitches and rows you need to achieve the desired size. Measure the gauge and adjust your hook size if necessary.
- Ribbing:
- Start by chaining the number of stitches needed to achieve the desired circumference of the hat. The exact number of chains will depend on your gauge and head size.
- Row 1: Starting in the second chain from the hook, work single crochet (sc) stitches across. Turn your work.
- Row 2: Chain 1, work front post double crochet (fpdc) stitches across. Turn your work.
- Row 3: Chain 1, work back post double crochet (bpdc) stitches across. Turn your work.
- Repeat Rows 2 and 3 until the ribbing measures the desired length to cover your forehead. This will depend on your measurements.
- Body of the Hat:
- Once the ribbing is the desired length, continue working in rounds to create the body of the hat.
- Round 1: Chain 2 (acts as first stitch), work double crochet (dc) stitches evenly around the ribbing. Join with a slip stitch (sl st) to the top of the first dc to form a circle. Note: The number of stitches in this round should be the same as the number of stitches in the last row of ribbing.
- Rounds 2 and onward: Chain 2 (acts as first stitch), work dc stitches in each stitch around. Join with a sl st to the top of the first dc at the end of each round.
- Continue working in rounds until the hat reaches the desired length. You can make it slouchy or snug, depending on your preference.
- Finishing:
- Once you’ve reached the desired length, fasten off the yarn, leaving a long tail for sewing.
- Thread the tail through a tapestry needle and weave it through the stitches of the last round. Pull tight to close the top of the hat.
- Weave in any loose ends with a tapestry needle.
Reviews (0)
Be the first to review “Crochet Hat Pattern” Cancel reply


Reviews
There are no reviews yet.