Materials you will need:
Worsted weight yarn in your desired color
Crochet hook appropriate for the yarn weight
Scissors
Yarn needle for weaving in ends
Pattern:
Note: This pattern is for a toddler-sized hat, but you can adjust it by changing the starting chain and the number of rows to make it larger or smaller.
Step 1: Starting Chain
Begin by making a chain that fits comfortably around the toddler’s head. Typically, a chain of 40-44 stitches should work for a toddler hat. Make sure it’s not too loose or too tight.
Step 2: First Round
Join the last chain to the first chain with a slip stitch to form a ring. Be careful not to twist the chain. This will be the starting point for your rounds.
Step 3: Hat Body
Round 1: Chain 2 (counts as first double crochet), make one double crochet (dc) in each stitch around. Join with a slip stitch to the top of the chain 2. (40-44 dc)
Round 2-6: Chain 2 (counts as first dc), make one dc in each stitch around. Join with a slip stitch to the top of the chain 2. (40-44 dc)
Step 4: Hat Brim
Round 7: Chain 1 (counts as first single crochet), make one single crochet (sc) in each stitch around. Join with a slip stitch to the chain 1. (40-44 sc)
Round 8: Chain 1, make one front post double crochet (fpdc) around the next stitch, make one back post double crochet (bpdc) around the next stitch, make one fpdc around the next stitch. Repeat from * to * around. Join with a slip stitch to the chain 1.
Repeat Round 8 one more time.
Step 5: Finishing
Cut the yarn, leaving a tail. Thread the tail through the yarn needle, and weave it through the stitches of the last round. Pull tight to close the hole.
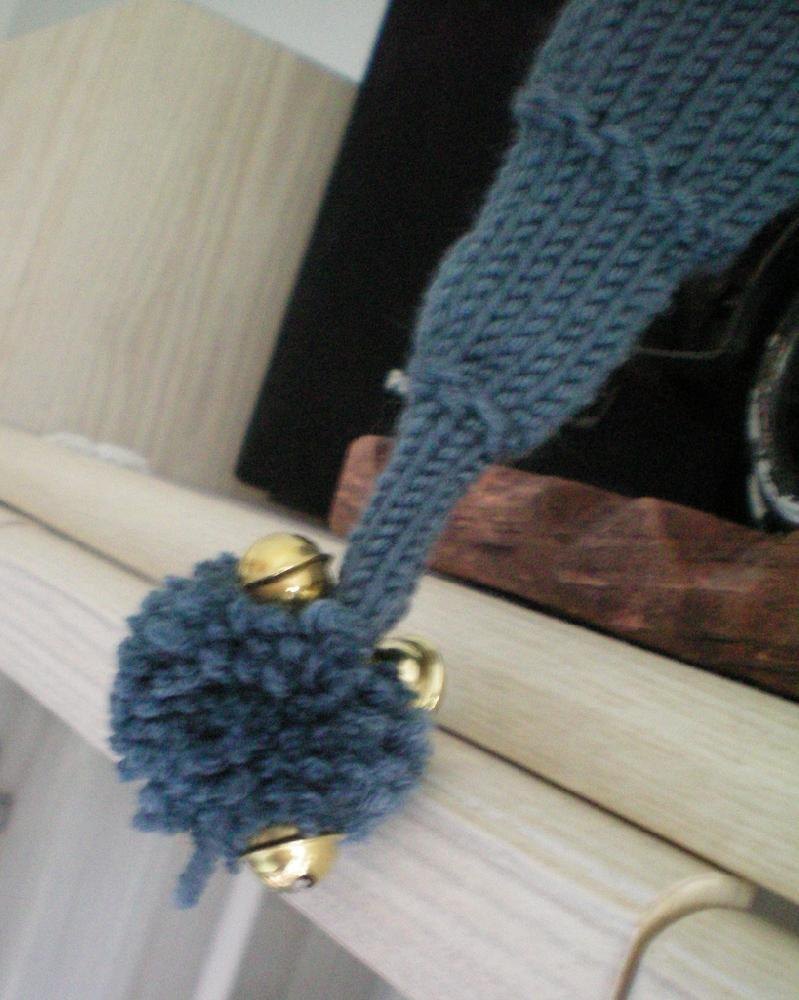
Optional: You can add embellishments like flowers, pom-poms, or buttons to personalize the hat further.
You must be logged in to post a review.


Reviews
There are no reviews yet.