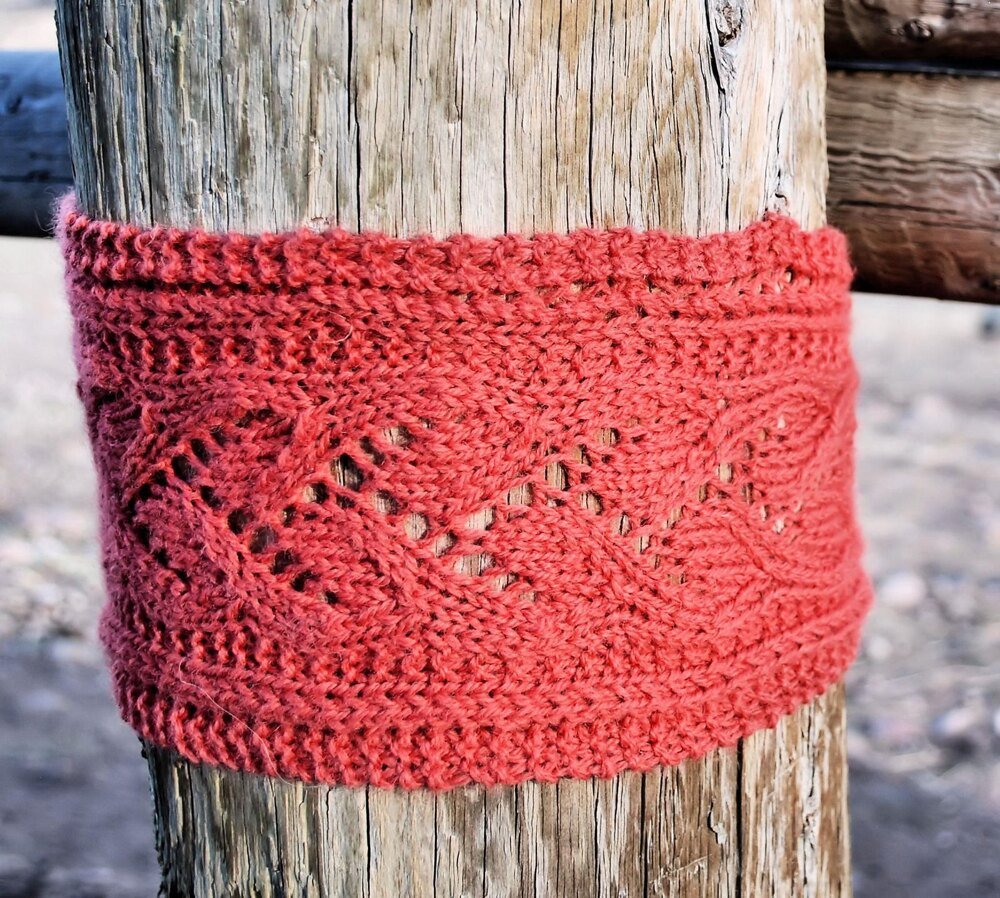
Materials:
Worsted weight yarn in your desired color(s)
Crochet hook (size appropriate for your yarn)
Scissors
Yarn needle
Step 1: Start by making a slipknot with your yarn and place it on your crochet hook.
Step 2: Chain a multiple of stitches that will fit comfortably around your head. You can measure this by wrapping the chain around your head and making sure it’s neither too loose nor too tight.
Step 3: Once you’ve reached the desired length for your headband, join the last chain to the first chain with a slip stitch, forming a ring.
Step 4: Chain 3 (this will count as your first double crochet stitch) and work a double crochet stitch into each chain around the ring. Continue this until you’ve completed one round of double crochet stitches.
Step 5: Join the last double crochet stitch to the top of the beginning chain 3 with a slip stitch.
Step 6: Chain 2 (this will count as your first half double crochet stitch), skip the next stitch, and work a half double crochet stitch into the next stitch. Repeat this pattern around the headband, skipping one stitch and working a half double crochet stitch into the next. Join with a slip stitch to the top of the beginning chain 2.
Step 7: Repeat Step 6 for a few more rounds until you’ve reached the desired thickness for your headband.
Step 8: To create the vine design, switch to a different color of yarn if desired. Chain 15 or a length that you prefer for your vines. Slip stitch into the same stitch you completed the last half double crochet stitch in Step 6.
Step 9: Slip stitch into the next stitch, and repeat Step 8 to create multiple vines around the headband. You can create vines at regular intervals or in a pattern of your choice.
Step 10: After completing the vines, fasten off your yarn and weave in any loose ends using a yarn needle.
You must be logged in to post a review.


Reviews
There are no reviews yet.