For a fantastic car theme birthday decoration at home, consider DIY car birthday decorations. Start with an easy car birthday backdrop and banner. Craft a car-themed birthday cake and set up inexpensive decorations like racing car motifs. If it’s for a 1 or 3-year-old, opt for toddler-friendly car birthday party ideas. Incorporate elements like drive-in movie setups or pit-stop activities for a memorable celebration.
Car Theme Birthday Decoration at Home
For a fun and memorable car-themed birthday decoration at home, consider incorporating transportation elements like checkered flags, traffic lights, and tires. Use car horn and gift bag decorations to add flair. Cupcake toppers featuring cars can enhance the theme. Printable decorations offer convenience and customization. With these simple ideas, you can create a lively car birthday theme perfect for celebrating your little one’s special day.
Are you looking to throw your little one an unforgettable birthday party? Look no further than a car-themed celebration! With some creative decorations, delicious treats, and fun activities, it’s easy to make any car lover’s dream come true. Let us show you how to transform your house into a racecar dreamland.
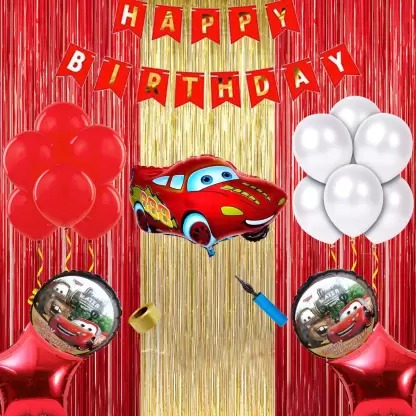
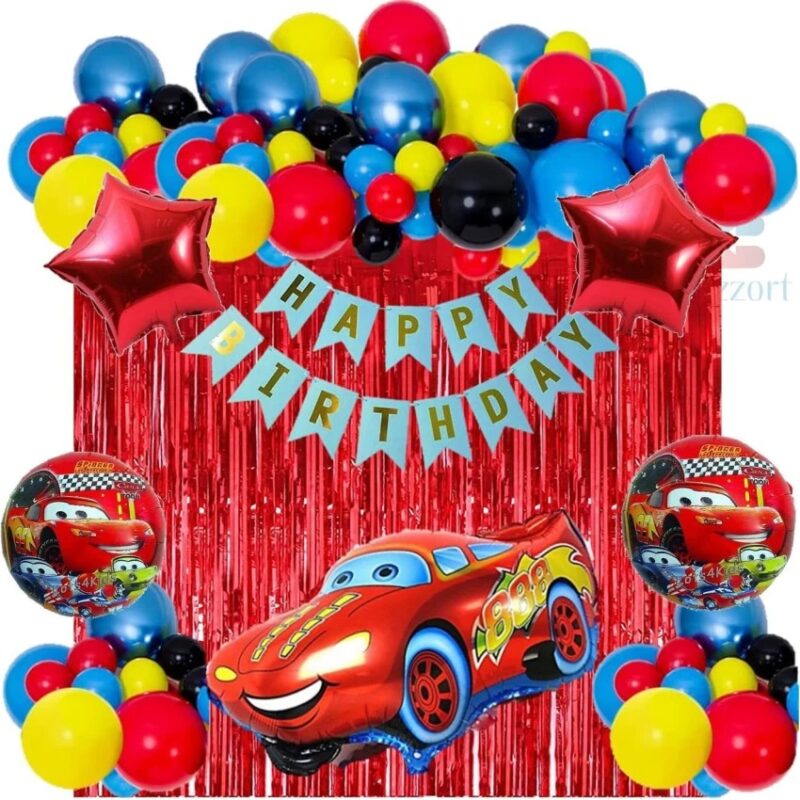
Decorations Start with a backdrop made of black and white checkered flags that are traditionally used in racing. Make sure you hang them up high enough so they won’t get trampled on while kids are running around having fun. Hang up some colorful balloons in the shape of cars and add a few streamers in bright colors like red, yellow, and orange. You can also cut out shapes of cars from construction paper (or buy pre-made ones), hang them up around the room, and have the kids color them in during the party.
Food For food ideas that fit the theme, try making cupcakes decorated like racecars or cookies with tire tread outlines on them. If you want something more substantial than snacks, set up a mini buffet with hotdogs and hamburgers served inside pita bread or rolls shaped like steering wheels.
Don’t forget about drinks — serve juices in sippy cups labeled as “fuel tanks” for added effect! Activities Now for the most important part – entertainment! Set up some classic games such as Pin The Wheel On The Racecar or Red Light/Green Light with a car twist by replacing traditional objects with toy cars or homemade paper cars. Have a crafts table where kids can assemble their custom racecars using materials like felt, stickers, pipe cleaners, markers, and more. Finally, if space allows it rent an inflatable bumper car arena where kids can drive around safely while having tons of fun!
A car-themed birthday party is sure to bring joy to any kid who loves vehicles! With just some decorations, simple food ideas, and fun activities you can turn any living room into an exciting racecar track without breaking your budget. So what are you waiting for? Get ready to start planning the best birthday party ever.
How do I make a car theme birthday decoration at home?
Making a car-themed birthday decoration can be surprisingly easy and fun! Here are some ideas to get you started:
Car-themed decorations: You can easily make your car decorations by purchasing themed accessories or cutting them out of card stock. Try making a big paper road map for the wall, creating paper cars from card stock, hanging up model cars, or buying mini license plates with guests’ names on each one!
Car cake: Consider creating a 3D cake made in the shape of a car as a centerpiece for your party table. Alternatively, you could make cupcakes decorated like tiny racecars with colorful frosting and chocolate chips as wheels!
Games: Set up an obstacle course in the backyard that includes cardboard boxes for children to crawl through or create simple but fun activities such as racing control cars around an area marked off with tape on the floor or playing pin-the-tailpipe-on-the-car game using poster board and construction paper tailpipes cutouts glued onto them.
Party favors & takeaways: Hand out toy vehicles to kids which they can take home along with their personalized driver’s license cards that you make yourself—just print template pages from the internet onto cardstock and fill in each person’s details before punching holes into it and stringing leather strings through it for authenticity!
How do I make a car birthday cake?
Making a car birthday cake may seem like an intimidating task to tackle, but with the right techniques and some creativity, you can create a stunning result that will have your friends and family talking.
To begin the process of creating your cake, think about what kind of car you’d like to make. Do you want to go for something classic or modern? A convertible or a race car? Once you’ve chosen your design ideas, sketch out the components on paper so that you have a visual reference.
Next, bake two round cakes using either one or two full boxes of cake mix (depending on how large or thick you’d like the final product). Make sure that they are completely cooled before proceeding! After this step is completed, it is time to start assembling your masterpiece.
Begin by stacking one layer of cupcakes around the sides of each round cake- this will act as support when it’s time to construct walls and add details later on. Then use frosting generously between each layer and along the sides to fill in any gaps; this will help give shape and structure while also making sure all your layers stay together! You may also want to consider using cardboard pieces underneath different sections to provide further support.
Once all those steps are taken care of, break out any decorations you plan on using such as crushed cookies for tires/wheels, licorice for windshield wipers/windows, etc., colorful candies for headlights/tail lights, etc. fondant pieces shaped into grilles, etc. chocolate chips arranged into shapes resembling headlights, etc. Allowing yourself enough resting time during assembly can help ensure these details stay where they need to until ready for use- it also makes them easier to manage if warmed up slightly beforehand! When everything has been added be sure not to take pictures so that everyone else can admire what amazing work was put in Enjoy!!!