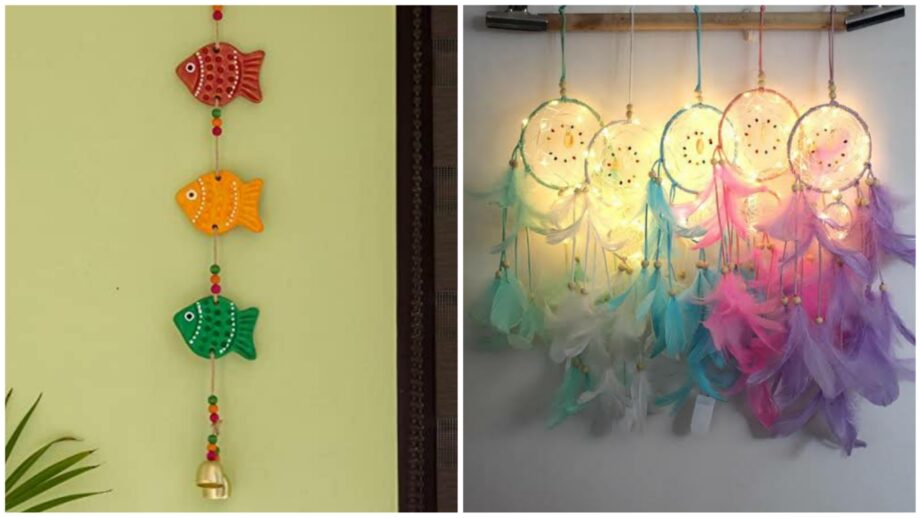
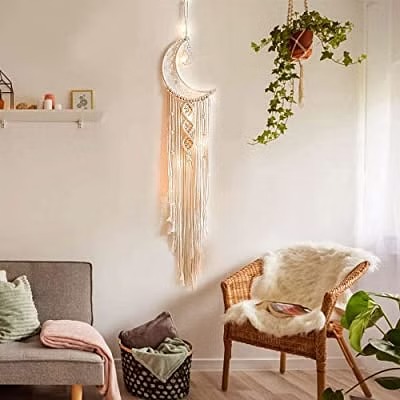
Handmade home decoration adds a personal touch to any space, creating a warm and inviting atmosphere. From DIY crafts to unique pieces, there are countless ways to decorate your home with handmade items.
Whether it’s handmade decorative items for the wall, craft ideas for home decoration step by step, or handmade decoration ideas for various occasions like birthdays or Christmas, there’s something for every taste and style. Embracing handmade decor not only adds charm to your space but also supports artisans and encourages creativity.
Handmade Home Decoration
Handmade home decoration items are unique and add a personal touch to your living space. Whether it’s handmade wooden decor, upcycled home decor, or fabric home decor, these items bring warmth and character to any room. From handmade wall art to rugs and throw pillows, each piece tells a story. You can even find tutorials online for easy handmade home decor projects, allowing you to customize your space effortlessly.

Are you looking for a way to add some unique touches to your home? Why not try making handmade decorations? Handmade decorations can add the perfect finishing touch to any space. They are also a great way to express your creativity and make your home truly unique.
1. Creating Your Decorations
Creating your handmade decorations is easier than you might think. All you need is a few basic supplies and some inspiration, and you’ll be on your way! Most craft stores offer a variety of materials that can be used for making handmade home decorations, such as fabric, paper, wood, paint, and glue. You can also find tutorials online if you need help getting started.
2. Benefits of Handmade Decorations
One of the advantages of making your handmade decorations is that it allows you to customize them to fit your style and taste. You can pick from a variety of colors and patterns that match the theme of your room or personal style. Additionally, since most materials for making handmade decorations are affordable, it won’t break the bank when creating these pieces.
Tips for Making Handmade Decorations
When creating handmade decorations, there are a few tips to keep in mind: First, take time to plan out what type of decoration you want to make before diving in head first. This will help ensure that all of the necessary materials are available before starting the project. Second, use high-quality materials that will last longer and look better in the long run. Finally, don’t be afraid to get creative! There are no rules when it comes to making handmade decorations – let your imagination run wild!
Making handmade decorations is an easy yet effective way to spruce up any room in your home. With a few basic supplies and some creativity, you’ll be able to create beautiful pieces that will last for years to come. Whether you’re looking for something simple or something more elaborate – give handmade home decorating a try today.
How to make a Burlap Door Hanger?
A burlap door hanger is a fun and easy project to make at home. It adds a unique touch to your décor and creates an inviting atmosphere for guests as they enter a room in your house.
To get started, you will need:
Burlap fabric – available in craft stores or online
Ribbon, lace, or cord – any length desired
Yarn or string – enough to hang the hanger on the door
An iron-on adhesive – preferably fusible webbing or tape
Fabric scissors and regular scissors for cutting ribbons and cords
Once you have all of your supplies, it’s time to make the hanger! Begin by measuring how big you want your finished product to be with the iron-on adhesive onto one side of the burlap fabric. Cut out 2 pieces from this measurement leaving about ¼ inch seam allowance on each side if using fusible webbing/tape; this allows for easier manipulation when creating shapes with ribbon etc.
Once cut, iron two pieces together accordingly along the edges of the oval/rectangle shape (or whichever shape is chosen). Then take the ribbon/lace/cord up through the opening created around edges connecting both sides while being mindful not to pull too tight so as not to deform the shape already created with the fabric beforehand; once pulled through both ends tie it into a bow knot near the top where handles are secured then snip off excess strings afterward if desired (or leave them flat against center part depending on personal preference).
Conclusion
Lastly, finish by attaching yarn/string across the middle portion roughly 3 inches below the top handle area securely tucking after knots underneath the shape made previously so it stays in place allowing the looped portion to fit over the doorknob without issue afterward when hanging up decor piece inside doorway entrance later on down line.